

Blog
How to Set Up and Assemble a Pool Table: Step-by-Step Guide

Key Highlights
- Putting together a pool table needs the right tools and someone who knows what they are doing. It is a careful job and each step must be done right.
- The first step is to pick a place for the table. You cannot move it once it is put together, so take your time with this.
- The slate pieces are heavy and can break easily. If you crack the slate, your pool table will not work the way it should.
- Getting the pool table level is very hard, but it is important for good play. A level table makes the game fair for everyone.
- If you do not stretch the felt right or the rails are not in the right spot, every shot you take will feel off and not go where you want.
- A professional installer is the best choice for pool table installation. This helps make sure everything is right, and your table is ready for every game.
Introduction
Bringing a new pool table into your home is exciting, but learning how to set up a pool table correctly is essential for the best playing experience. While the process may seem straightforward, a proper pool table setup requires careful planning, precision, and the right tools. From assembling the frame and positioning the slate to leveling the table and stretching the felt, every step plays an important role in creating a smooth and accurate playing surface.
In this guide, you’ll learn how to assemble a pool table step by step, along with practical tips to help you avoid common mistakes and complete your setup safely.
What You Need Before Assembling a Pool Table
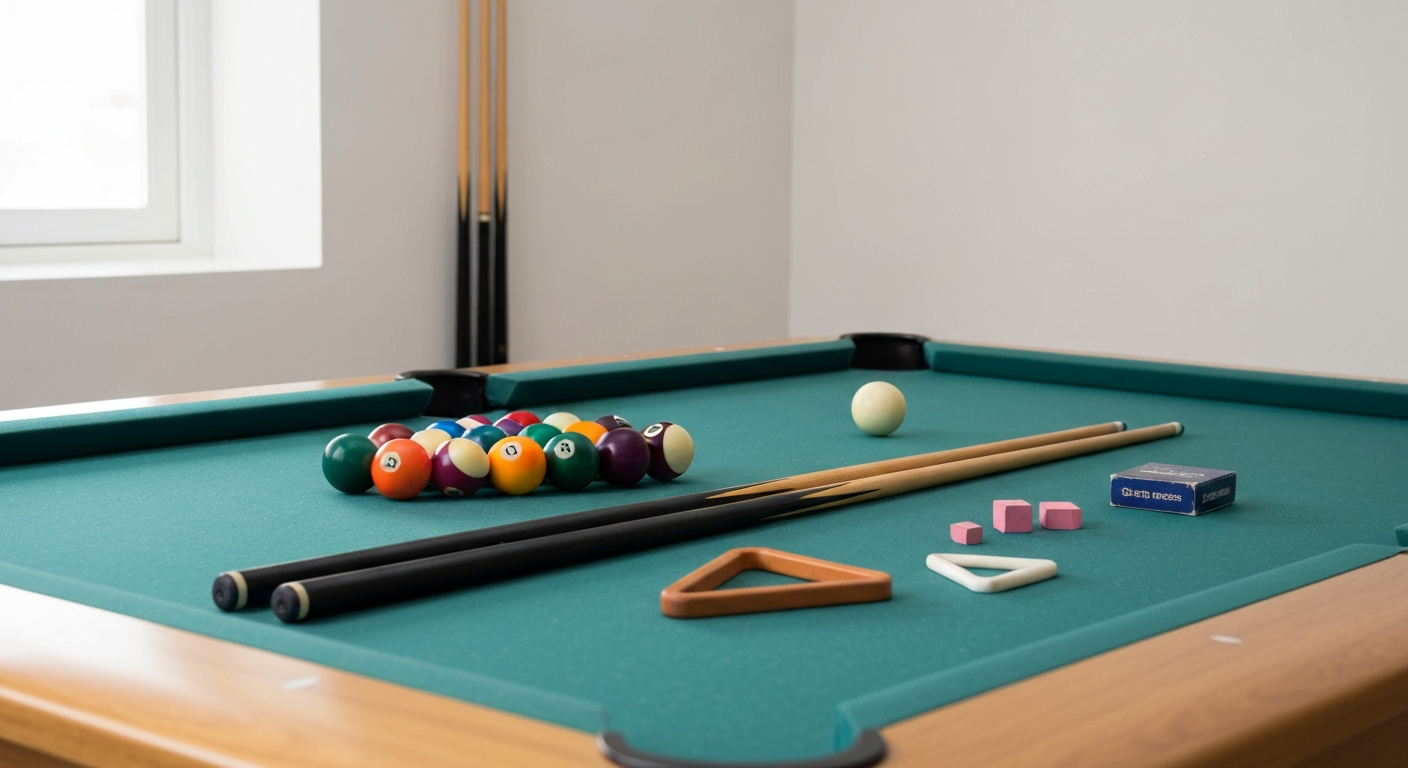
Before you open the box of your new pool table, you should get ready first. This means you need to get the right tools. You also need to make sure there is enough space for the table and so people can play without trouble.
Getting ready for this is about more than just having tools and space. You need to know what goes into making a full pool table set. Putting it together is not like putting together other furniture. One small mistake can cost you a lot. A good installer will know what to look out for and what to do.
Essential Tools and Materials for Safe Assembly
Putting together a pool table is not just about grabbing any screwdriver or wrench you have at home. You need some right tools that the job asks for. A lot of them might not be in your toolbox. Having the right tools is important. This helps you set up the pool table safely and in the right way.
Before starting your pool table setup, make sure you have all the tools needed for the job. This includes:
- A precision leveler
- A socket wrench set
- Beeswax or putty, and a propane torch for sealing slate seams
- Shims for small changes
Getting the right items for your pool table and knowing how to use them can be hard. When you put beeswax on the slate seams, it needs care, or things may not go well. Taking your time and using the correct tools helps you complete the setup safely and accurately. They know how to do every step with the right tools and skills.
Preparing Your Space for Professional Results
One mistake many people make is not thinking about how much space they need. The position of the table will not change once you start to put it together. So, the first step is to pick where you want the table to go before you do anything else.
To play the game with ease, there should be at least five feet of open space around all sides of the table. Before you start, you should:
- Be sure to measure your room and the table size carefully.
- Make a mark where the center of the table will be.
Before assembling your pool table, carefully measure your room and choose a permanent location with enough clearance for comfortable gameplay.
How to Set Up a Pool Table: Step-by-Step Assembly Guide
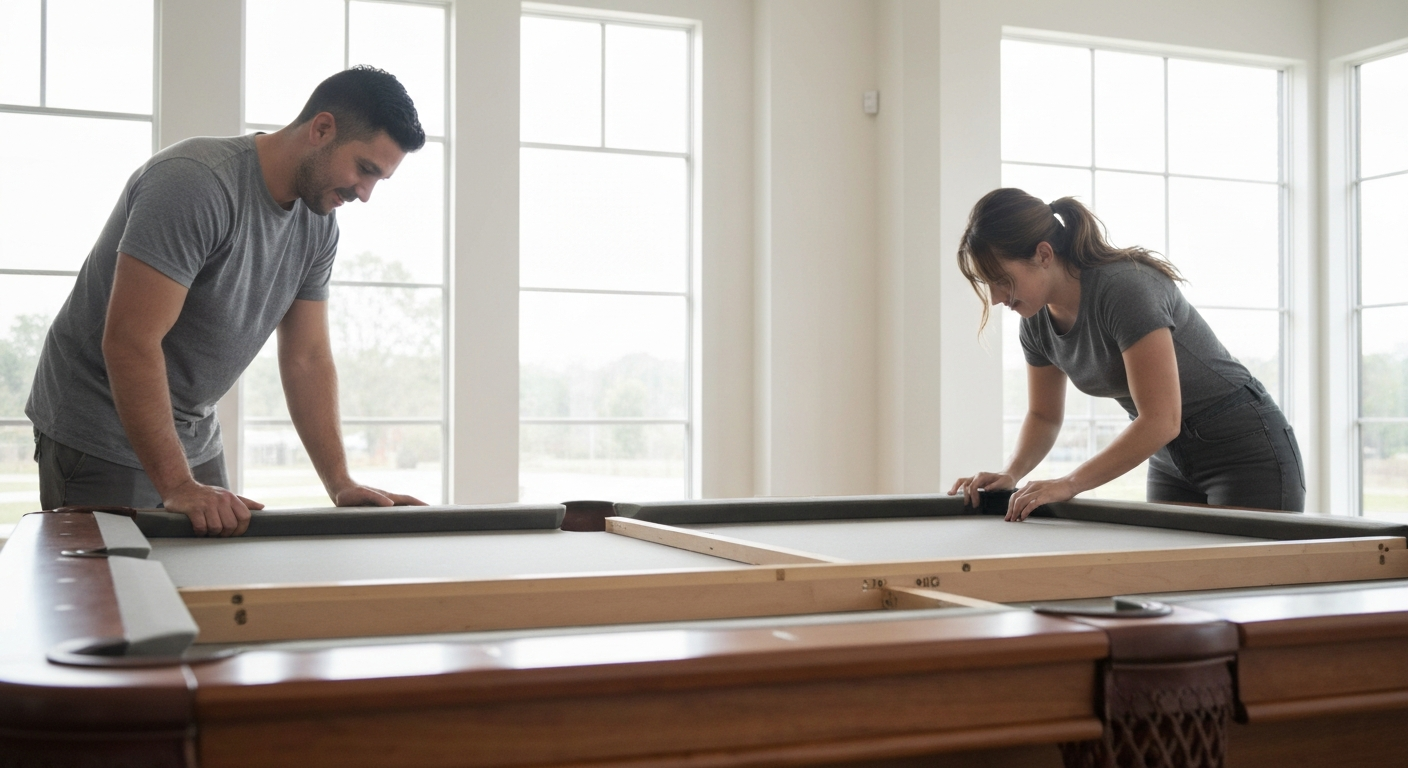
The setup of a billiards table happens in a few main steps. You need to build the frame first. Next, you should place the slate. After that, make sure the surface is level. The last steps are putting on the felt and adding the rails. While this list shows the steps, it is important to know that putting together a billiards table is not easy.
Each step in installing a pool table, like moving a heavy three-piece slate, needs skill. It can be hard to do it right if you have no experience. A professional pool table installation is not just something extra you can choose. It is needed to get the best result. A skilled installer has done this many times. They know how to get the job done without problems. Trying to do it yourself can lead to mistakes and risks.
Step 1: Frame Disassembly and Reassembly
The frame is the base of your pool table. The first step is to put together the frame. Start by turning the main cabinet upside down. Attach the legs using bolts and a socket wrench to make sure they are tight. Sometimes, you will need to add side and end panels as well.
After you attach the legs, check if the base wobbles. The base should feel solid before you turn it over. Once you turn the frame upright, make sure it is still in the spot you marked before. You will not be able to move it later.
Getting a frame that is stable and level is not easy. If the frame is not steady, it will cause big problems later. This is true when you start to level the slate. Double-check that the frame is stable and square before moving on to the slate, as a solid foundation is essential for proper pool table setup.
Step 2: Setting, Installing, and Securing the Slate
Setting the slate is not easy, and it is the part that holds most risk in the whole assembly job. The slate, which is in three heavy pieces, can break if the person does not hold it the right way. A piece slate may even crack from its own weight if you do not work with care. To start, put the center piece slate on the frame. Then add the two end pieces on each side.
You need to make sure the slate pieces line up with each other. Do not let there be any space between them. After you set the pieces in place, screw them to the frame from below. Next, use melted beeswax to fill the seams that are between the slate sections. Let it dry, then use the right tools to scrape the seams smooth. You must have a steady hand when you do this. If you crack a piece of slate, it will cost a lot, and you will not be able to finish the job.
| Task | Description of Risk |
|---|---|
| Lifting Slate | Each piece can weigh over 200 pounds, posing a risk of personal injury or dropping and cracking the slate. |
| Aligning Seams | Even a hair-thin gap between slate pieces will create an uneven playing surface that cannot be fixed. |
| Sealing Seams | Applying hot beeswax incorrectly can damage the slate or frame and create bumps under the felt. |
Step 3: Leveling the Table for Perfect Play
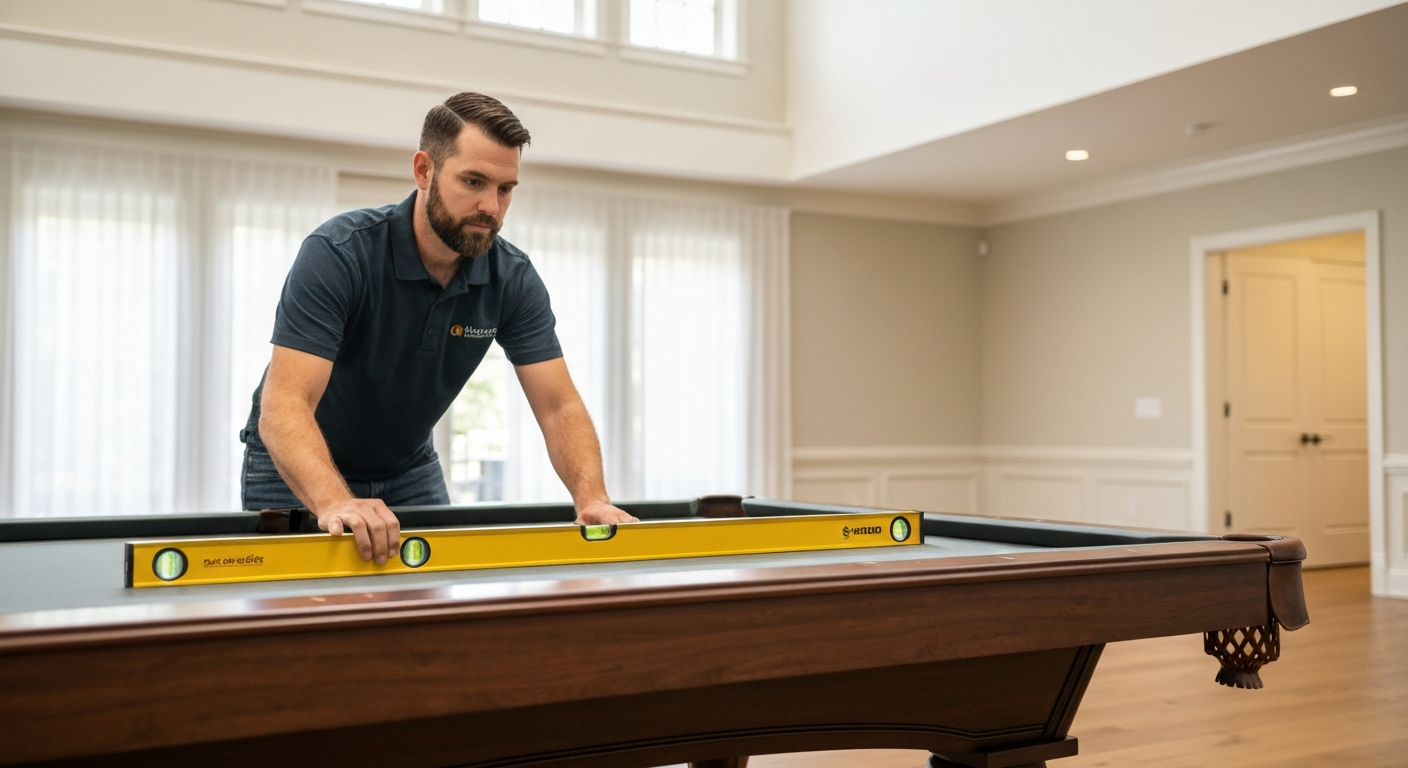
After you put the slate on the pool table, the most important thing to do is make it level. If the pool table is not level, the balls will not roll as they should. They will go off to the side or not move in a straight line. For this job, you need to use a machinist’s leveler. A standard carpenter’s leveler will not work for this step.
You need to make sure the surface is flat. You should do this at several different spots on the whole area. This means:
- Along the rails
- Across the corners
- Through the center of the table
Small changes are done by putting thin shims under the slate pieces. This process helps the surface to be flat. It can feel hard and take up a lot of time for someone new. Getting it just “almost level” will not work. Take your time when leveling the slate, checking multiple points until the playing surface is perfectly level.
Step 4: Installing and Stretching the Felt
With the slate flat and even, the next thing to do is put on the felt. The billiard cloth goes over the slate. You should take time to make sure there are no wrinkles in it. The felt is fixed to the wood that is under the slate. Most people use staples or glue for this.
The hard part is to stretch the felt the right way. You need to pull it tight and even all over the table. If you leave the cloth too loose, it bunches up. This will change how the ball moves. If you stretch the felt uneven, then there will be slow areas on the table.
Stretch the felt evenly across the slate to remove wrinkles and maintain a consistent playing surface.
Step 5: Attaching Rails and Pockets Correctly
The last thing you need to do is to put the rails and pockets on the table. The rails have the cushions in them. These are bolted to the main part of the table. They sit close to the slate, which has felt covering it. It is important for the rails to be lined up well. That way, the cushions will be at the right height and angle.
After the rails are on, the pockets get fixed to the underside of the table. The steps for this are:
- Make sure each rail is tight in the same way so they don’t bend out of shape.
- Line up the pockets the right way with the open spaces in the rails.
Misaligned rails can cause the ball to bounce badly and make your shots uneven. A mistake here can change the way every shot goes. Carefully align and tighten each rail evenly to ensure consistent ball rebound and accurate gameplay.
Common Pool Table Setup Mistakes to Avoid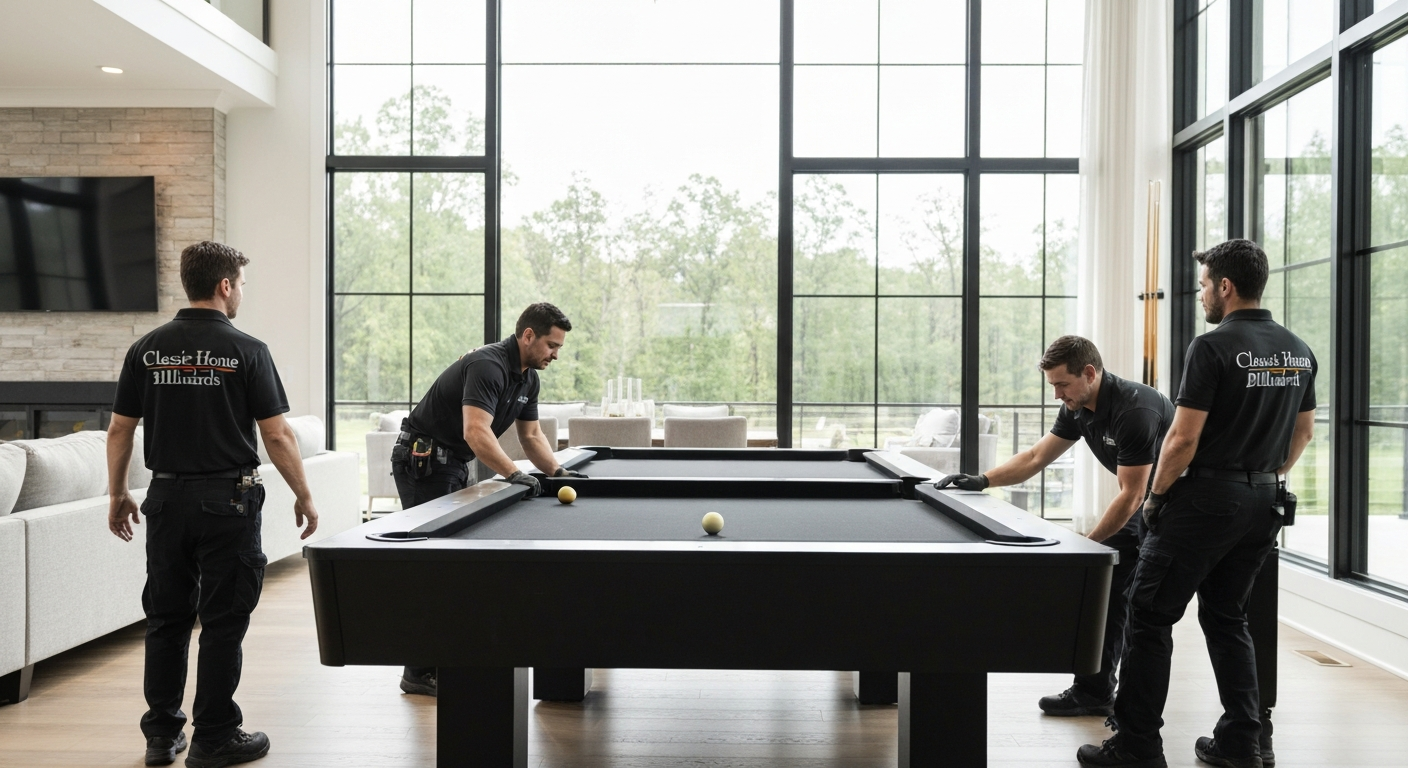
Setting up a pool table requires patience and attention to detail. Even small mistakes during assembly can affect gameplay and reduce the lifespan of your table. Taking your time during each stage of the pool table setup process will help you achieve a level playing surface and prevent expensive repairs later.
Some of the most common mistakes include:
- Placing the table on an uneven floor.
- Failing to level the slate correctly.
- Leaving gaps between slate sections.
- Stretching the felt too loosely or unevenly.
- Tightening the rails unevenly, causing inconsistent ball rebounds.
Checking each step before moving to the next will make assembling your pool table much easier and help ensure professional-quality results.
Tips for Safe Pool Table Assembly
A successful pool table setup starts with careful preparation. Before beginning the assembly process, make sure you have enough help to lift heavy slate pieces safely and all the necessary tools within reach. Never rush through the leveling process, as even a slight tilt can affect every shot.
As you assemble a pool table, double-check every bolt, rail, and pocket before moving on to the next step. Taking extra time during assembly will improve the table’s stability, extend its lifespan, and provide a better playing experience for years to come.
Avoiding Costly Errors and Ensuring Longevity
The mistakes people make when putting together a pool table on their own are often the ones that cost the most money. If the slate cracks, the felt tears, or the surface is not leveled right, you might have to spend a lot to fix it. Sometimes, it cannot be repaired at all. If you try to set up your pool table by yourself, you risk losing what you paid for it.
A professional installer from Classic Home Billiards will take care of your setup. We check and handle everything the right way. An installer with us follows what the maker says for every piece of your table. This makes sure you get great play every time and helps the table last for years. If you need help transporting or setting up a table in the Charlotte area, our pool table movers in Charlotte can handle the moving, installation, and leveling process.
If you are searching for pool tables for sale in Charleston SC or you have the table and want to set it up, our expert installer can help you. A professional installation keeps your table safe. It also makes sure the table will last a long time because small problems that can hurt the table are avoided.
Final Thoughts on Assembling Your Pool Table Safely
Learning how to set up a pool table takes patience, proper planning, and attention to detail. From assembling the frame and securing the slate to leveling the playing surface and installing the felt, every stage of the pool table setup process contributes to better gameplay and long-term durability.
By following this step-by-step guide, you can assemble a pool table with greater confidence while avoiding many of the common mistakes that affect performance. If your table is particularly large, uses a three-piece slate, or you’re unsure about any stage of the assembly, professional assistance can help ensure everything is installed correctly. For expert help, read our guide to pool table installation or contact our experienced team.